BPM Engine Connection
The application allows administrators to establish and manage multiple connections to BPM engines. This section explains how to add, configure, and test these connections.
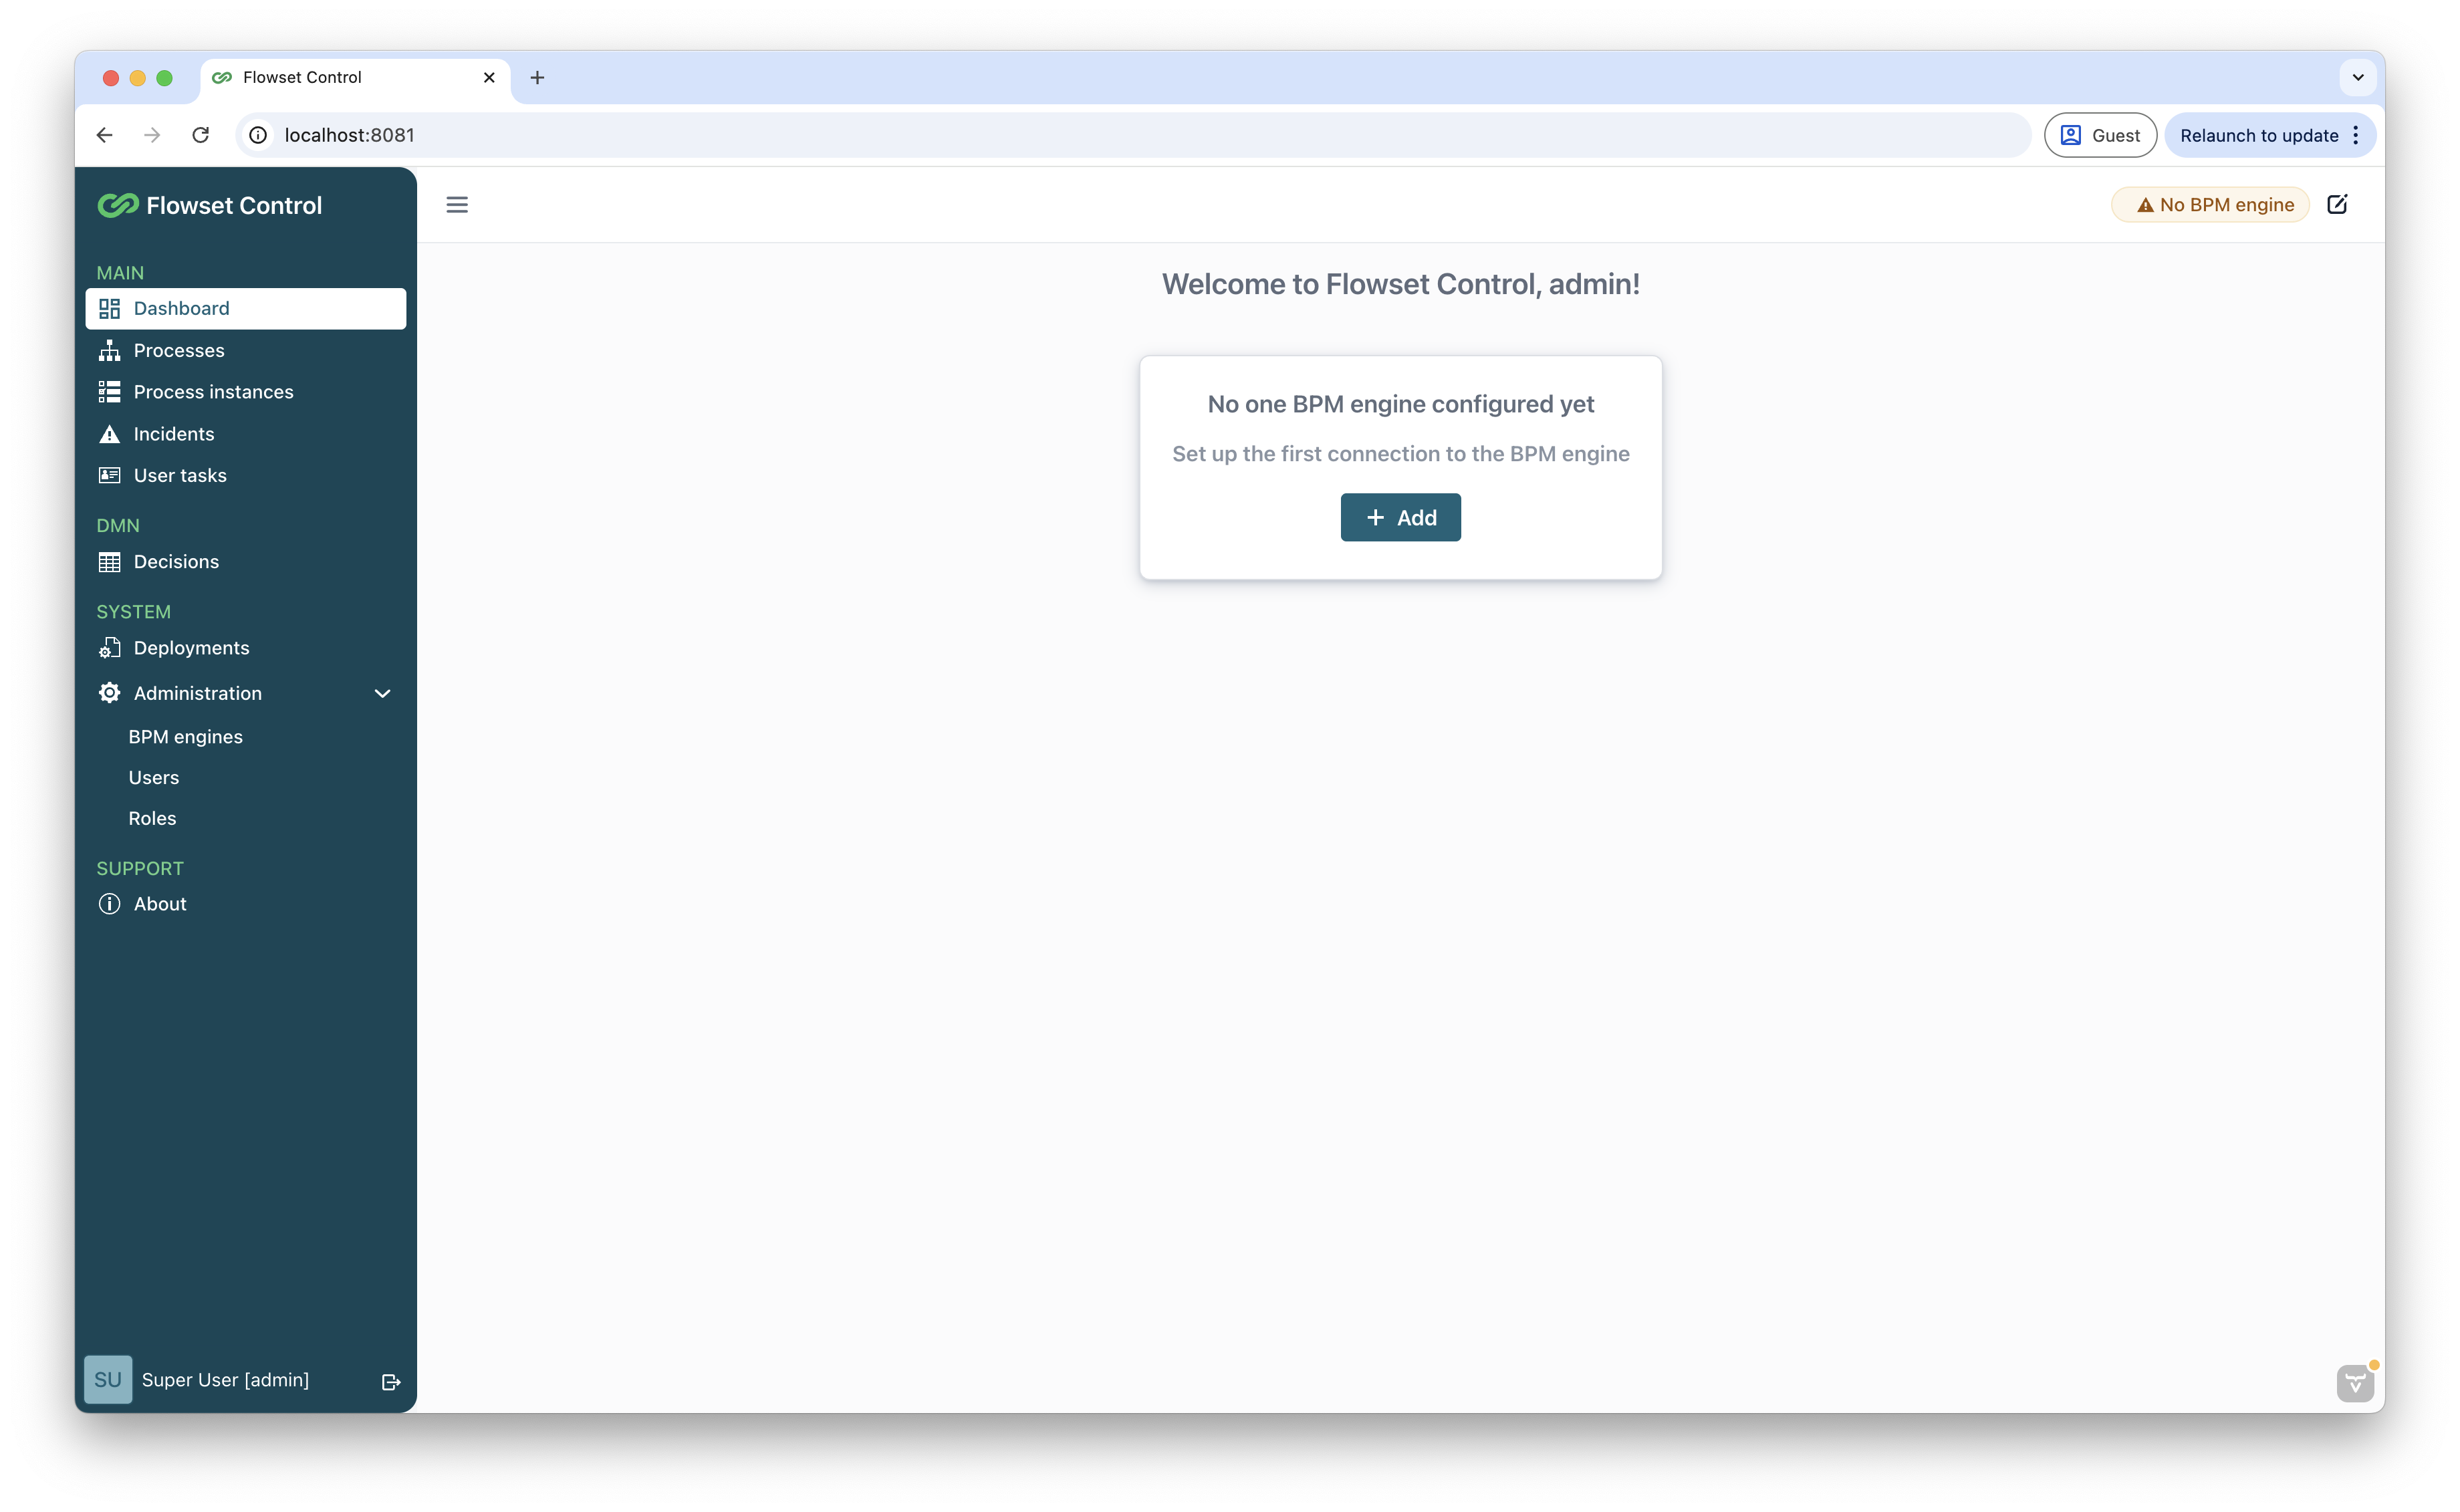
When launching the application, the Dashboard view opens. If no BPM engine is connected, the view appears as follows:
To configure a new BPM engine:
-
Click the Add button to open the New BPM engine dialog.
-
Alternatively, navigate to the BPM engines view through the application’s main menu. Once there, select the Create button.
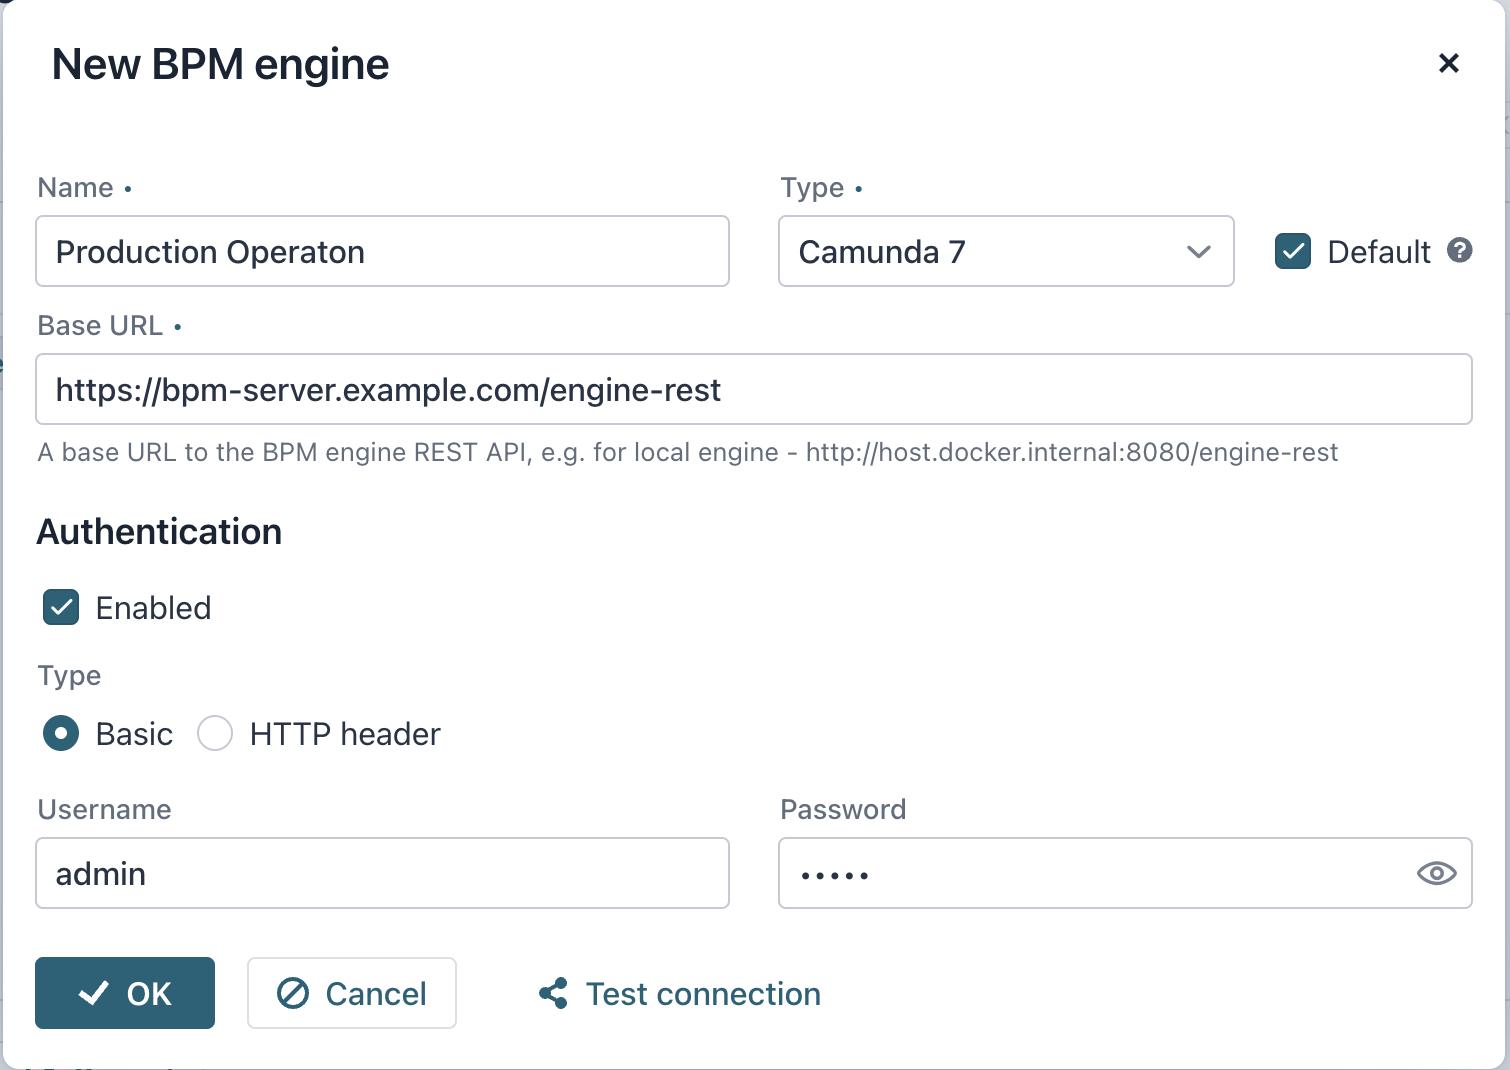
Once the New BPM engine view is open, complete all required fields as described in Adding a New Engine.
|
BPM Engines
The BPM engines view displays a list of BPM engines connected to the process application. Administrators can perform the following actions:
-
Create or remove an engine.
-
Edit an existing engine’s configuration.
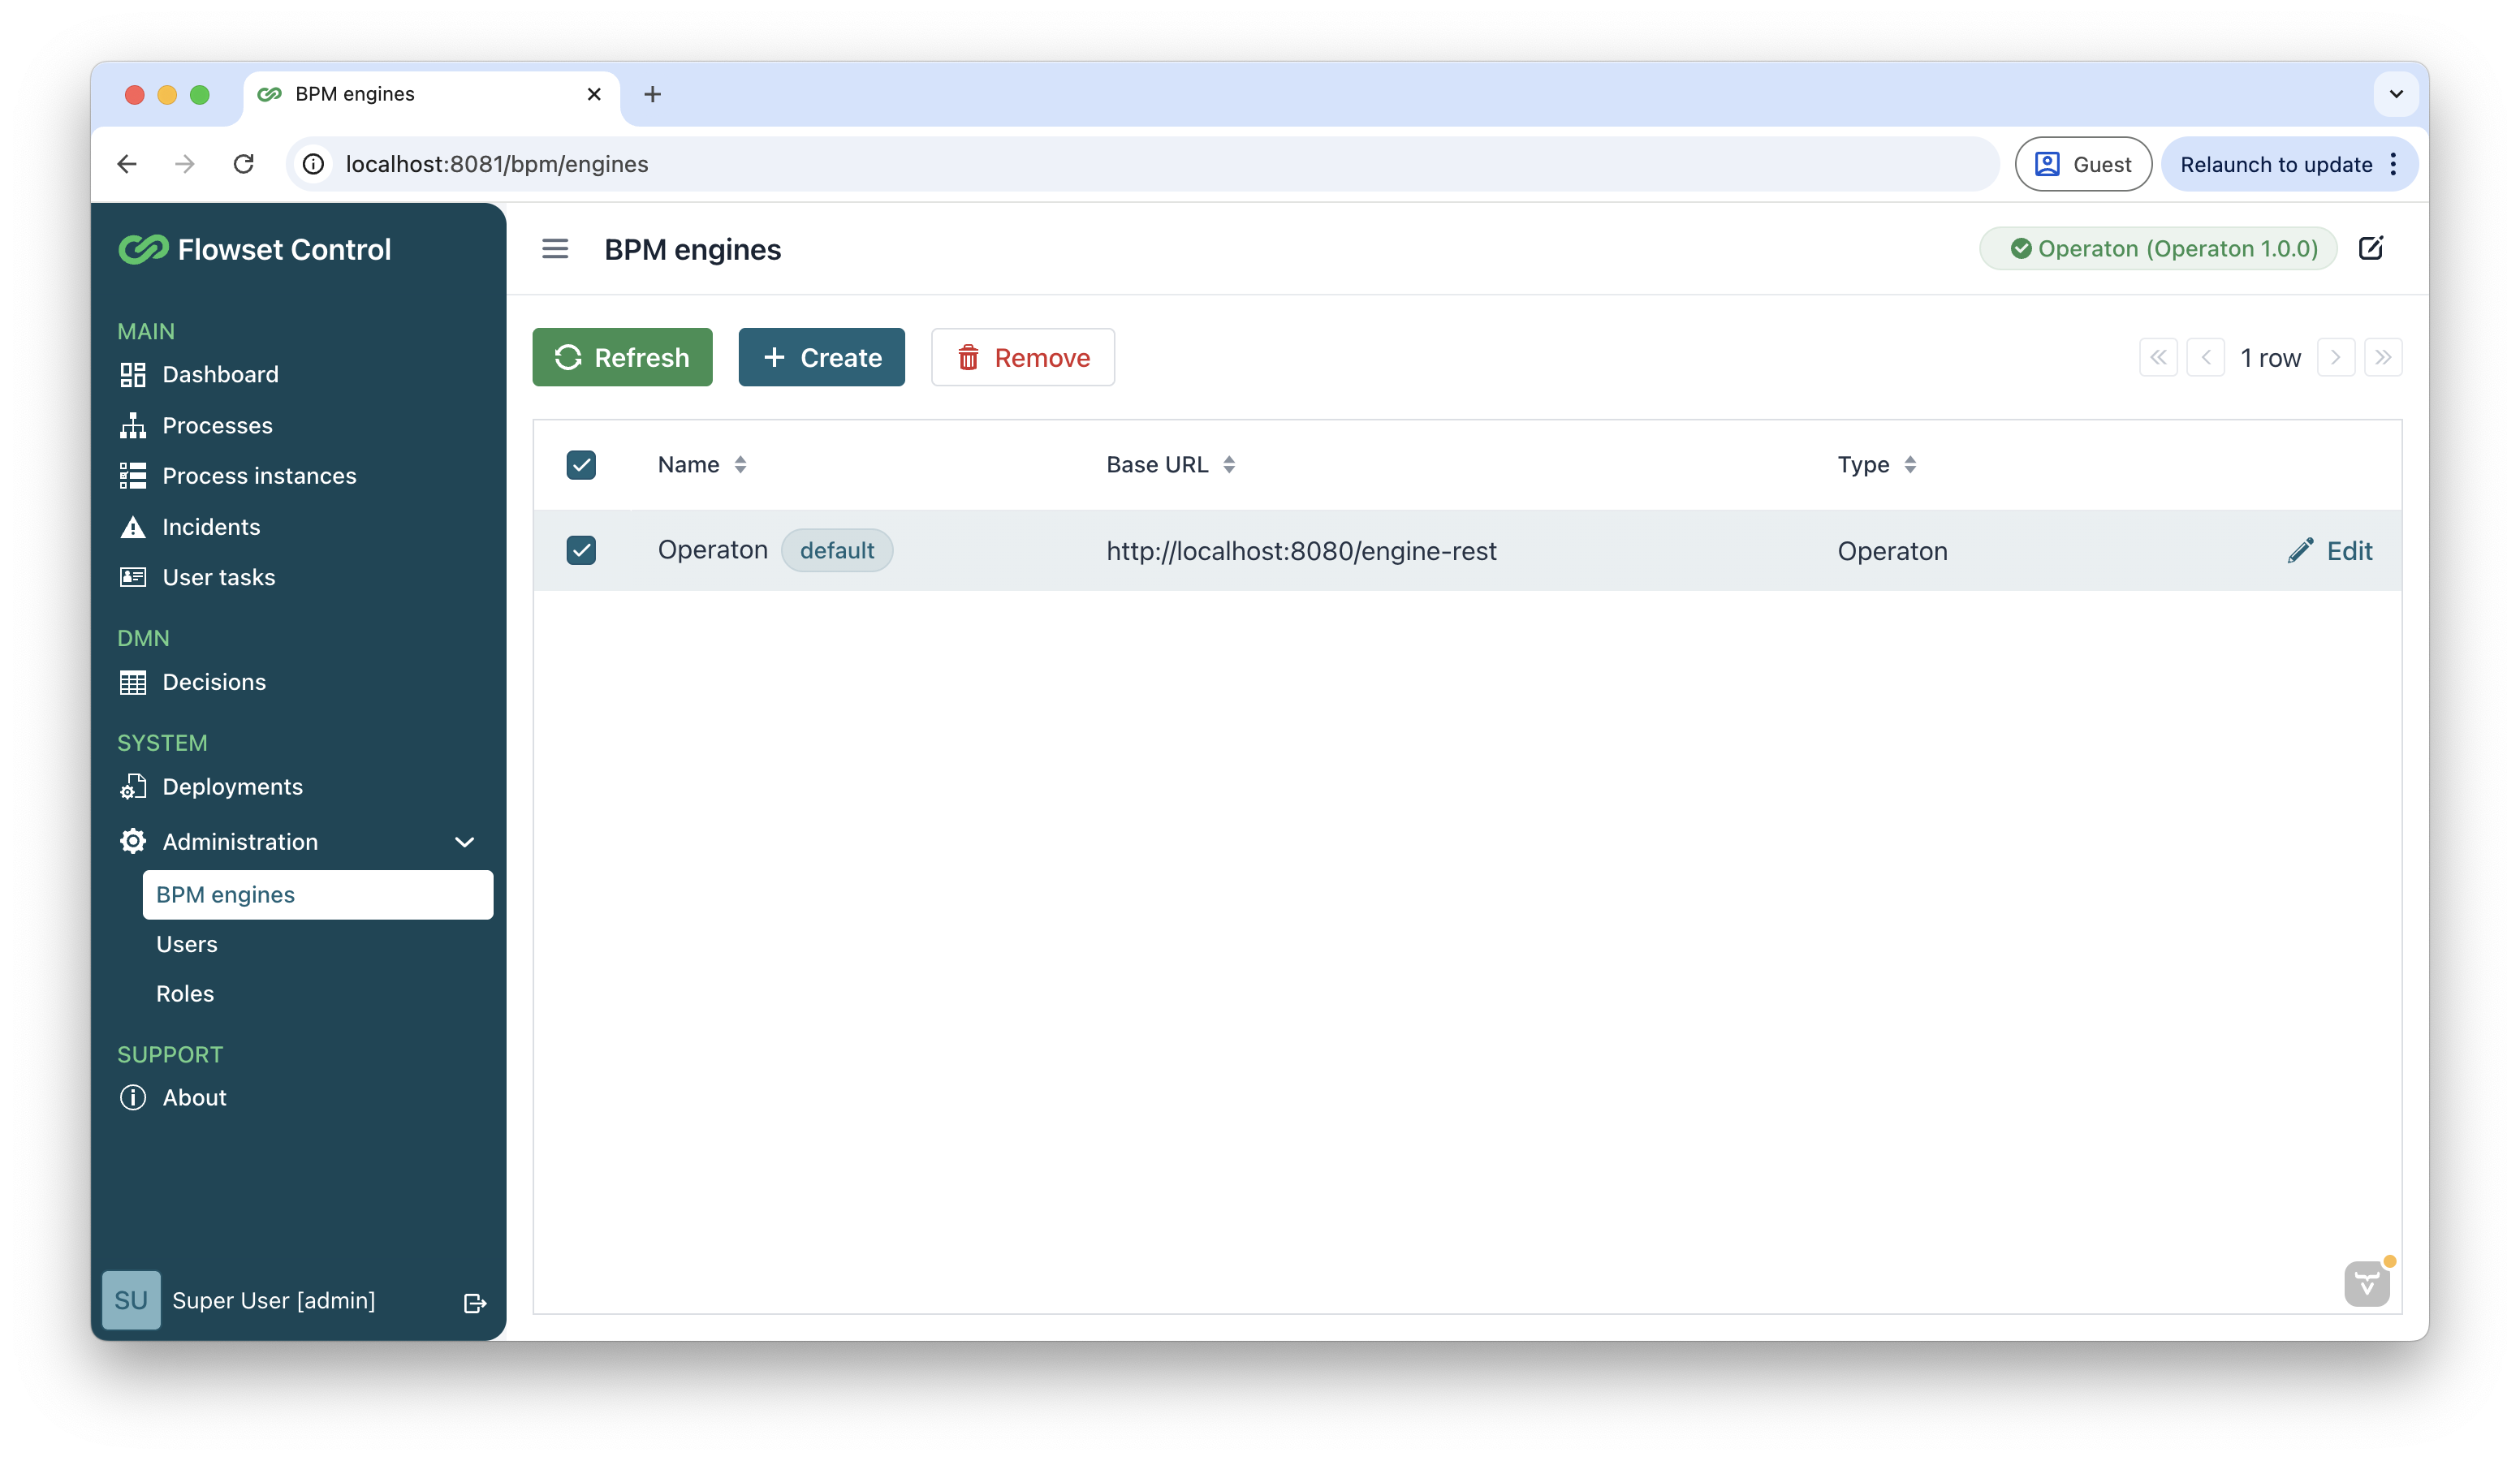
Engines are displayed in a table with the following columns:
-
Name: The engine’s display name.
-
Base URL: The endpoint URL for the engine.
-
Type: The engine type.
-
Default Engine: A flag indicating the default engine (only one engine can be marked as default).
| The first engine added is automatically set as the default. To change the default engine, manually mark as default another engine from the list. |
Adding a New Engine
To connect to a running BPM engine:
-
Access the New BPM engine configuration view. There are two methods to begin configuring a new BPM engine connection:
-
From the application dashboard, if no BPM engines are configured.
-
Through the BPM Engines view, by clicking the Create button.
-
-
Configure connection parameters:
-
Name (required):
Enter a descriptive name for your BPM engine instance (for example,
"Production Camunda 7","QA Flowset"). -
Base URL (required):
Specify the complete endpoint URL (for example,
https://bpm-server.example.com:8080/engine-rest) -
Type:
Select from supported engine types:
-
Operation
-
Camunda 7
-
-
-
If the target BPM engine requires authenticated access, select the Enabled checkbox in the Authentication group.
Select authentication method:
-
HTTP Basic Authentication. Provide username and password.
-
HTTP Headers Authentication. Configure custom headers.
-
-
Before saving any changes, click Test connection to ensure the accuracy of the connection settings. This action initiates a connection attempt to the selected engine. The system will then display a message indicating whether the connection was successful or if any errors were encountered.
-
Click OK to save the connection.
Managing BPM Engine Connections
The Flowset Control displays your currently connected BPM engine in the upper-right corner status badge. This shows:
-
Active engine name
-
Connection status
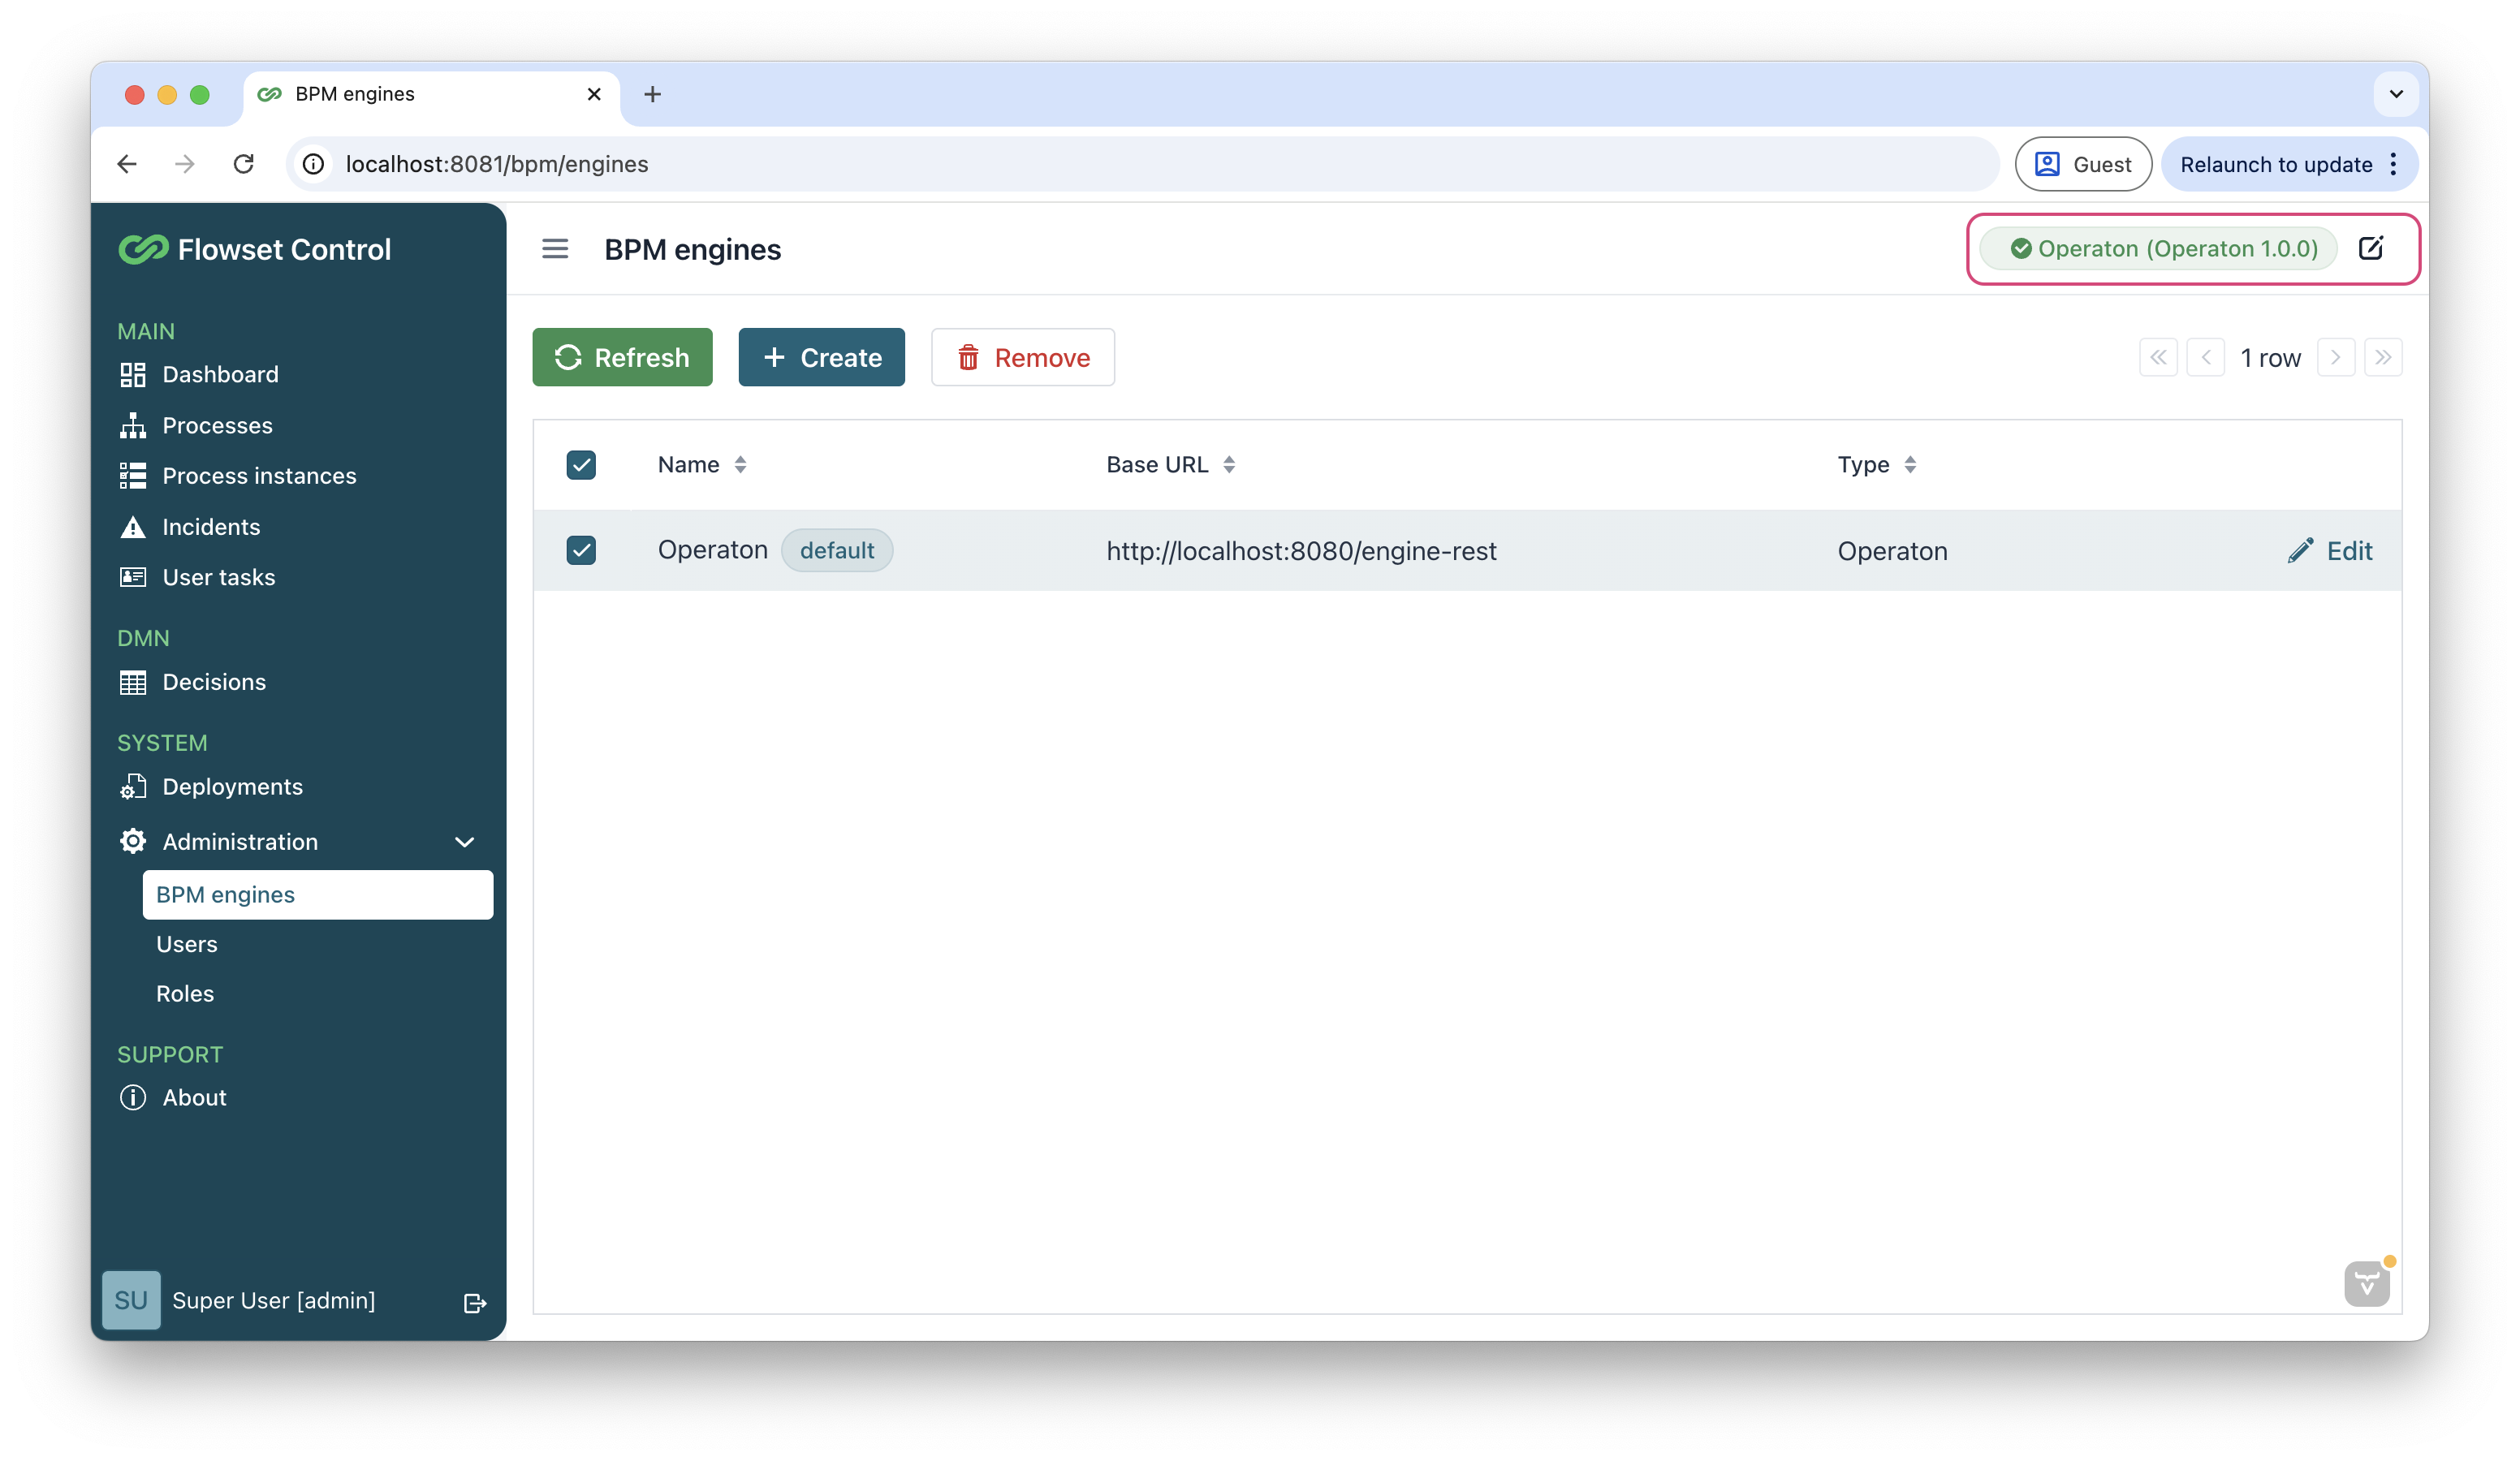
To change the active BPM engine, locate the engine status badge in the upper-right corner and click the Edit button next to the engine status badge.
The Select BPM engine dialog will appear:
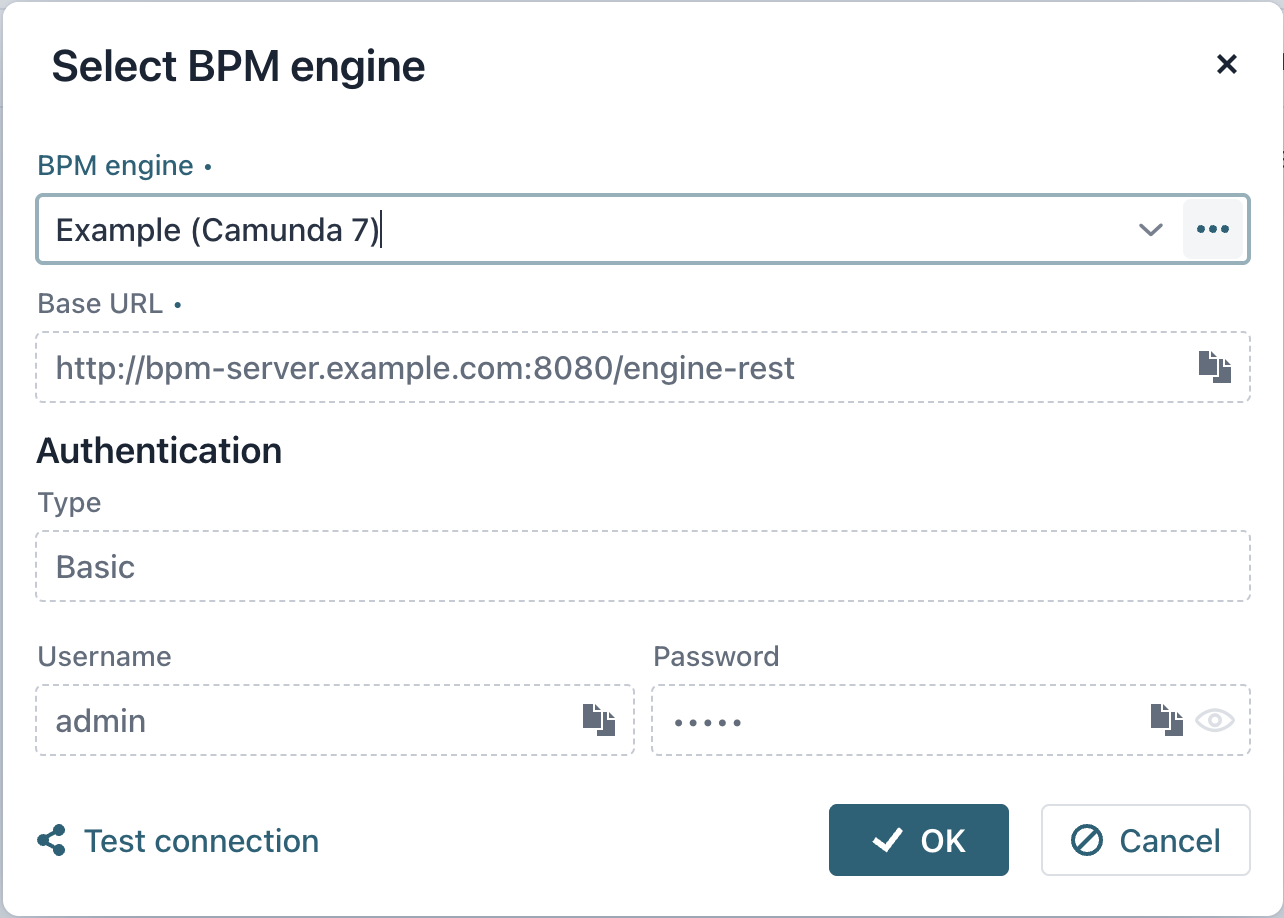
The administrator can choose the BPM engine and specify authentication parameters, including the header name and parameter value. Before switching BPM engines, a connection test is available.